Put a Button on a Form to Send a Customized Email
Description
This lesson demonstrates how you can use Action Script to send out a customized email message. The goal is to send an email message to a customer asking it to confirm that its correct address.
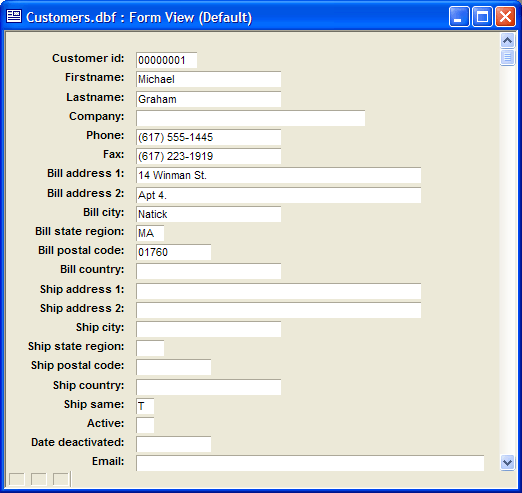
Right-click the "customers" table on the Tables/Sets tab of the Control Panel and select Default Form.
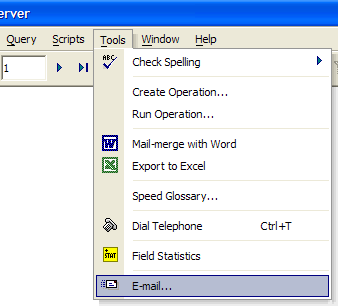
The first step is to create an "email template" that has the body of the message to send to the customer. Select Email from the Tools menu.
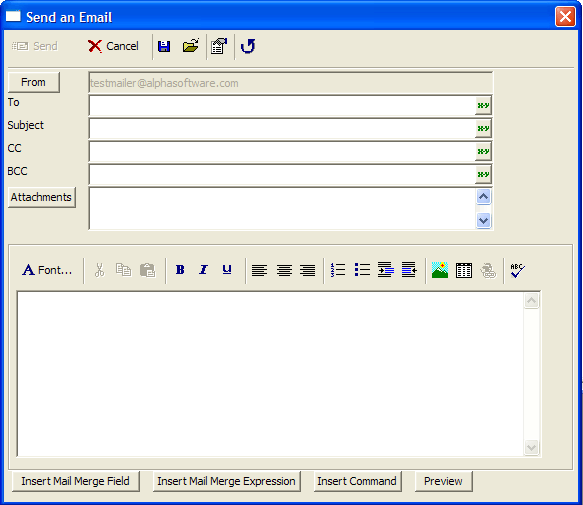
This brings up the Alpha Anywhere "Email Client".
First you need to specify the email address of the recipient. However, you do not want to use an actual email address. Instead, you want to refer to the field in the customer records that contains the customer's email address. Click 'xy' to open the Expression Builder.
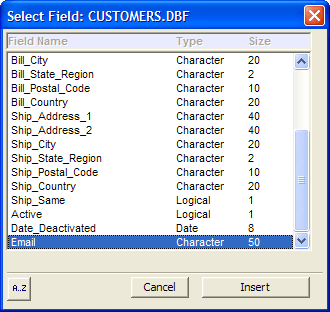
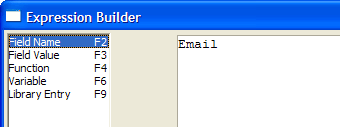
Press F2 to open the Field Name list.
Scroll down, select the "Email" field, and click Insert. The Expression Builder looks like this:
Click OK to close the Expression Builder. Alpha Anywhere puts "=Email" in the To field.
The = prefix tells Alpha Anywhere that the text that follows is to be treated as an expression.Next, fill in the Subject: field: "Confirming Your Mailing Address".
Now create the body of the message. Click inside the message body portion of the email. Type "Dear " to start the message.
Now you want to insert a field from the current record. Click the Insert Mail Merge Field button.
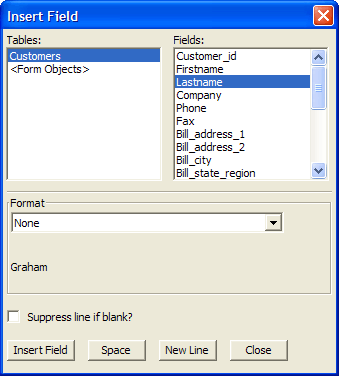
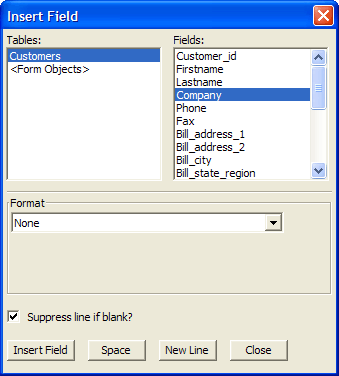
The Insert Field dialog opens. Note that this is a modeless dialog. You can leave it open while you type your message.
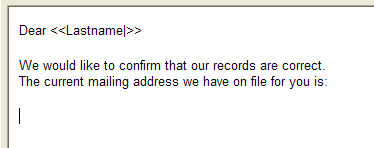
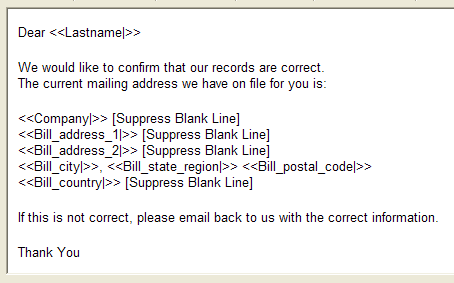
Click the "Firstname" field and then click the Insert Field button. Type in the rest of the message as shown below:
Now you are ready to insert the customer address information. Select the "company" field.
Make sure the Suppress line if blank? check box is checked. Picture
Click the Insert Field button.
Click the New Line button.
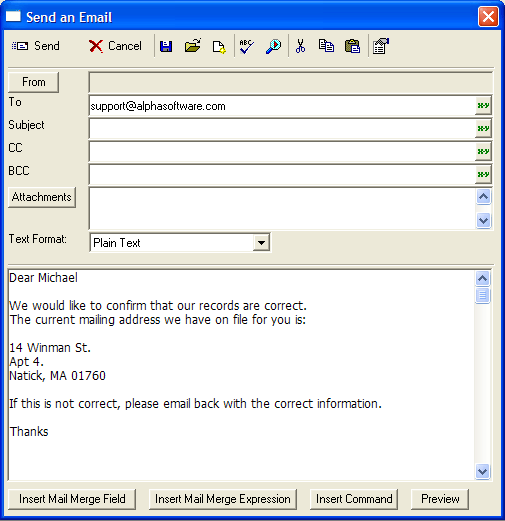
Continue selecting fields and typing text in the message body until you screen looks like this:
Now save the template. Click the Save button to save the script.
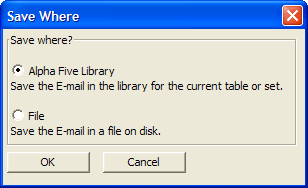
You can save templates in text files, or in the current table's Library (where forms, reports, etc. are stored). Select the Alpha Anywhere Library option, and enter "ConfirmAddress" as the template name.
Before closing the Email Editor, click the Preview button to see how your email will look.
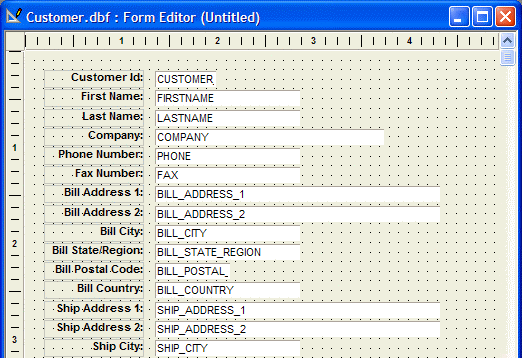
Now you are ready to put a button on the form. Click the Design button to switch the form to Design Mode. Picture
Click the Button Object tool '-' on the Toolbox.
Click and drag to draw a button just above the Email field.
When you release the button, the Define Button dialog box appears.
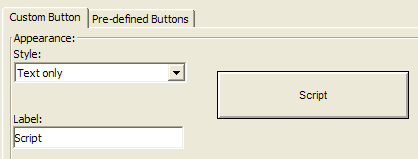
Specify the button Label and then use the Style drop-down box to select the style of button you want.
Click Next >.
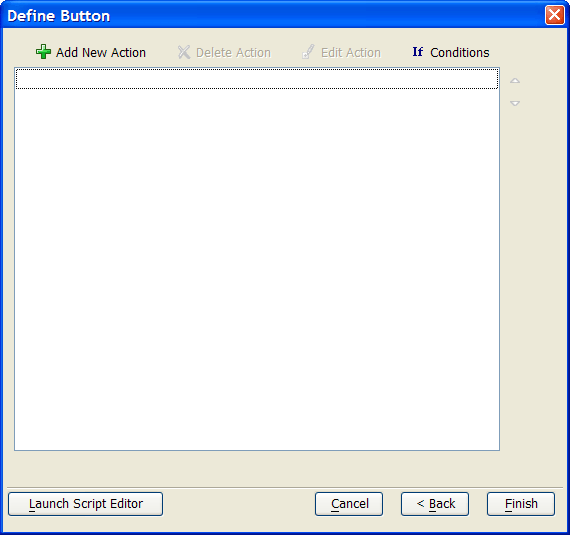
The Embedded Action Script Editor appears.
Click Add New Action.
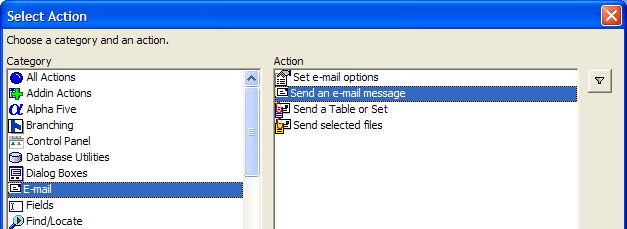
Select the "Email" category and the "Send an email message" Action.
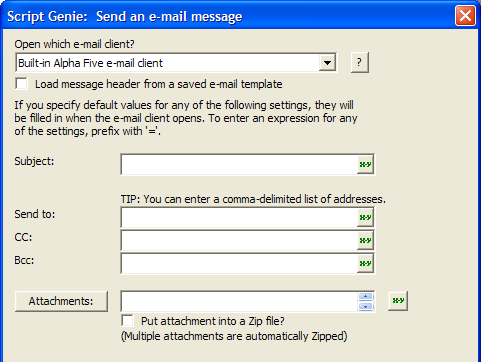
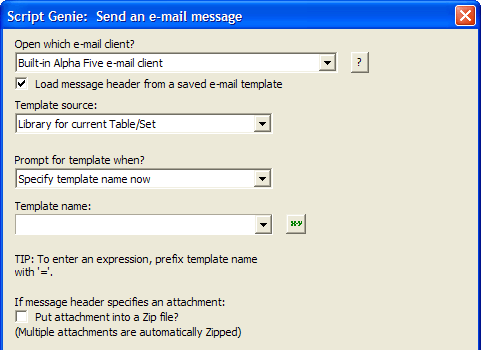
The Genie appears. When you send a message you can either use Alpha Anywhere's built in email client, or you can use your default email client (e.g. Outlook, Eudora etc.). If you choose the built-in Alpha Anywhere email client, you get more options (as you will see on the next screen). For the purpose of this lesson, please choose the "Alpha Anywhere built-in client".
You can either specify the message header as Part of the Genie, or you can extract the header from a saved template. Check the Load message header from a saved email template check box.
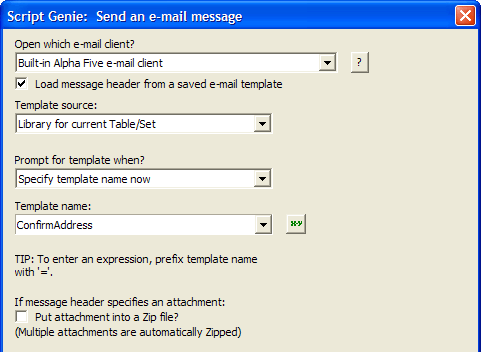
The "message header" is the address portion of the message, not the body.You can specify that Alpha Anywhere should prompt for the template name at runtime, or you can specify the template name now. Having Alpha Anywhere prompt at runtime is useful if you want the operator to be able to select one of several different email messages to send to the client. Enter "ConfirmAddress" as the Template name.
Click Next > to move to the next Genie page.
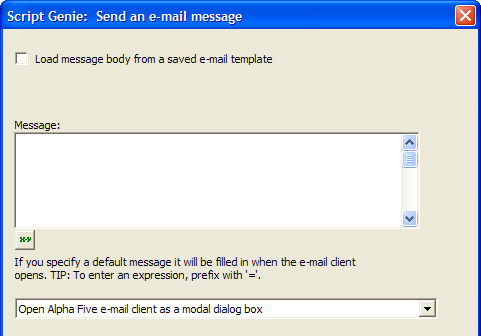
You also want to load the message body from a template, so check the Load message body from a saved email template check box.
Finally, choose "Open Alpha Anywhere email client as a modal dialog box". Picture
Click Next >
Click Finish to close the Genie. Your screen should now look like this:
Click Finish to close the Define Button Genie.
Save the form.
Run the form.
Enter a valid email address in the Email field (your own would be a good idea). Your screen should look like this:
Click the Send Email Confirmation button. The Alpha Anywhere email client pops up with all the correct information merged into the message header and body.
Now click the Send button to send the email. as you can see, Action Scripting makes it very easy for you to create highly customized email components to your applications.
When you send an email message using the Alpha Anywhere email client, the message is stored in the Alpha Anywhere email outbox. This is a table you can add to the current database.To do so, click the green '+' icon on the Control Panel toolbar and select the "A_EMAIL.DBF.DBF" table in the Alpha Anywhere program folder.
Netmailer automates the sending of emails. However, Netmailer does not use the email templates created through the process described here.
